
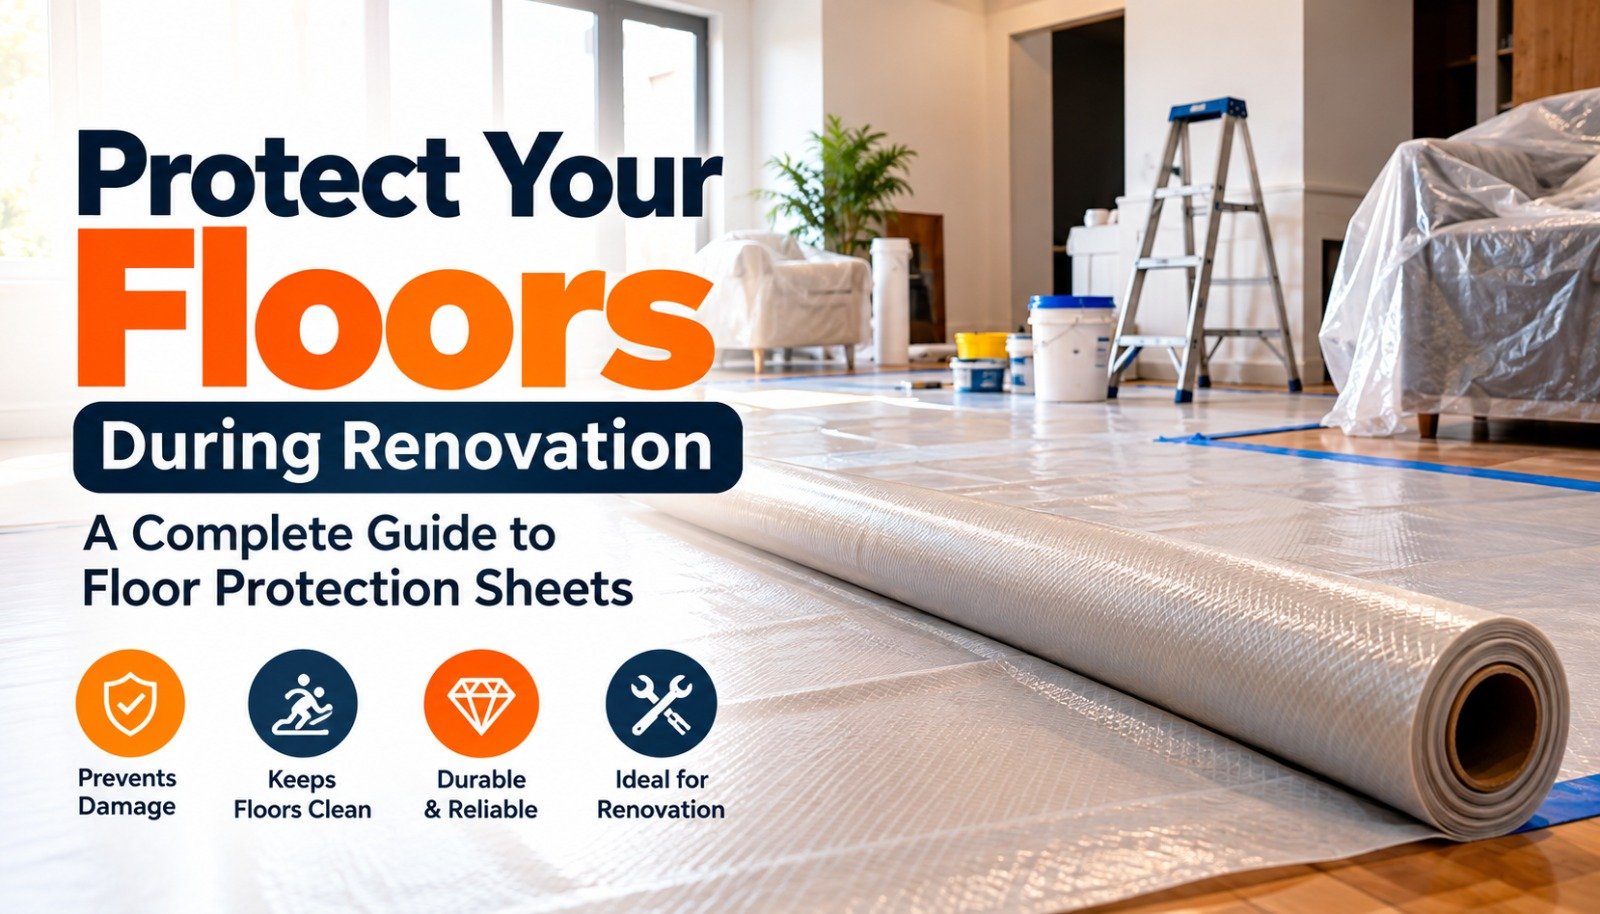
Renovation is messy. Paint drips, cement dust, plaster
splashes and heavy foot traffic can ruin a newly laid floor before the project
is even finished. Repairing a scratched marble, stained tile or damaged wooden
floor can cost far more than the protection that would have prevented it.
Floor protection sheets are a simple, low-cost way to avoid
that. Here is how to choose and use them well.
1. What Are Floor Protection Sheets?
Floor protection sheets are durable covers laid over
finished or newly installed floors to shield them from damage while work is
going on. They are used by builders, interior contractors, painters and
homeowners alike.
2. Common Types
Plastic and HDPE-based sheets
Lightweight, waterproof and economical. They are good for blocking paint
splashes, water and light dust, and they are easy to roll out and reuse.
Heavy-duty laminated sheets
Thicker and more tear-resistant, these suit sites with heavy foot traffic,
wheelbarrows or equipment movement.
Fabric-backed or absorbent sheets
These soak up liquid spills instead of letting them spread, which is useful
during painting and polishing work.
Tarpaulin-based covers
Rugged and long-lasting, they work well in large areas, staircases and spots
that take constant abuse.
3. Match the Sheet to the Floor
- Marble
and granite: These scratch and stain easily, so use a sheet with a
smooth underside and enough thickness to resist grit pressed through from
above. - Vitrified
and ceramic tiles: Cover the surface fully, and tape down edges to
stop dust from creeping underneath. - Wooden
flooring: Use breathable or non-slip sheets, because trapped moisture
under a sealed plastic layer can damage timber. - Freshly
laid floors: Wait for the recommended curing time before covering.
Covering too early can trap moisture or leave marks.
4. How to Lay Floor Protection Properly
- Clean
first. Sweep or vacuum the floor so grit doesn't get trapped and
scratch the surface. - Cover
completely. Overlap sheets by a few inches so there are no exposed
gaps. - Secure
the edges. Use low-tack masking tape on delicate floors so the
adhesive doesn't leave residue. - Protect
high-traffic zones twice. Doorways, staircases and walkways wear out
first, so add an extra layer there. - Check
regularly. Lift a corner now and then to confirm there are no tears or
trapped debris.
5. Mistakes to Avoid
- Using
a sheet that is too thin for heavy work - Dragging
furniture or tools across the sheet instead of lifting them - Leaving
the cover on for weeks without checking underneath - Skipping
the cleaning step before laying it down - Using
strong adhesive tape on polished or wooden surfaces
6. Why Reuse Matters
A good floor protection sheet can be rolled up and used
across several projects. Choosing a sturdier sheet costs a little more upfront,
but it saves money over repeated jobs and creates less waste than disposable
options.